# First Angular Application
This section shows you how to build and run a simple Angular app[1] and the integration in Spring Boot.
# Install the Angular CLI
We use the Angular CLI to create projects and ongoing development tasks (Angular 8).
npm install -g @angular/cli
# Create a workspace and initial application
Open a console terminal in the root of your project and create a new workspace and initial app project.
ng new ui
? Would you like to add Angular routing? No
? Which stylesheet format would you like to use? CSS
# Serve the application
Angular includes a server, so that you can easily build and serve your app locally.
Go to the workspace folder:
cd uiLaunch the server by using the CLI command
ng servewith the--openoption.ng serve --open
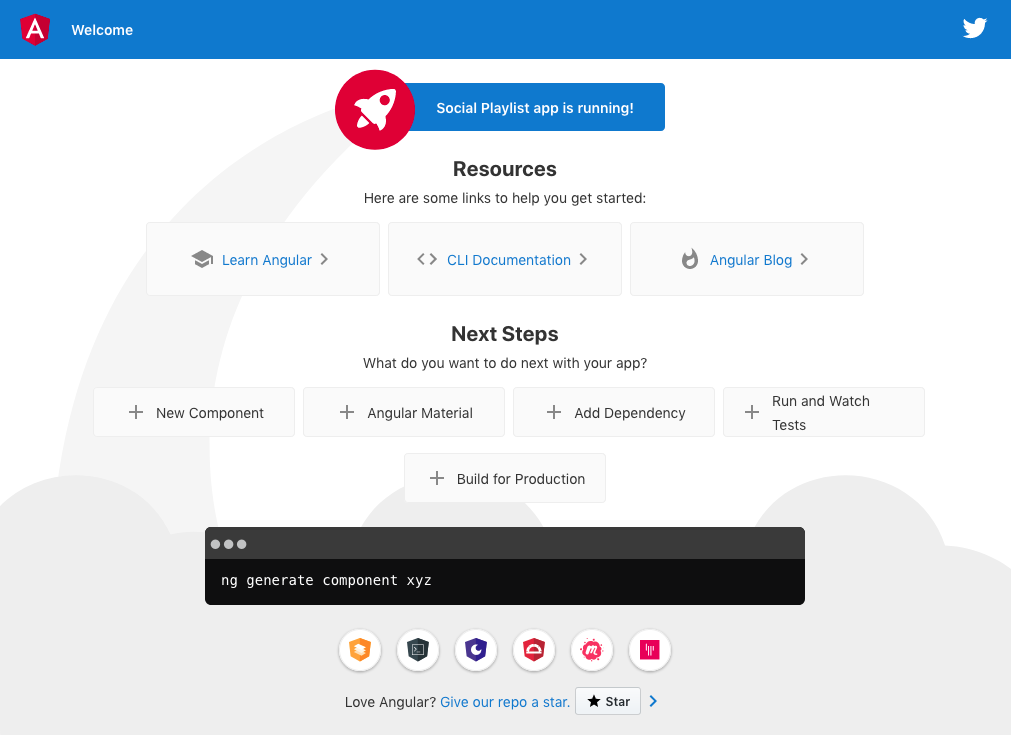
The --open option automatically opens your browser to http://localhost:4200 (opens new window).

# Edit your first Angular component
Components are the fundamental building blocks of Angular applications. They display data on the screen, listen for user input, and take action based on that input.
As part of the initial app, the CLI created the first Angular component for you. It is the root component, and it is named app-root.
Open
app.component.spec.ts.Change the application title from
'ui'to'Social Playlist'.it(`should have as title 'Social Playlist'`, () => { const fixture = TestBed.createComponent(AppComponent); const app = fixture.debugElement.componentInstance; expect(app.title).toEqual('Social Playlist'); }); it('should render title', () => { const fixture = TestBed.createComponent(AppComponent); fixture.detectChanges(); const compiled = fixture.debugElement.nativeElement; expect(compiled.querySelector('.content span').textContent).toContain('Social Playlist app is running!'); });Run tests.
ng testOpen
./src/app/app.component.ts.Change the
titleproperty from'ui'to'Social Playlist'.@Component({ selector: 'app-root', templateUrl: './app.component.html', styleUrls: ['./app.component.css'] }) export class AppComponent { title = 'Social Playlist'; }Run tests.
ng test
The browser reloads automatically with the revised title.
# Deploy the frontend together with the backend
For the Angular part we want to create a jar with a static directory that contains the result of our Angular build. By doing this we can include the jar in our backend module. And because Spring Boot will automatically add static web. resources located within static, the Angular application will be visible when we launch the application[2].
Create a
build.gradlefile in theuiproject.plugins { id 'java' id 'com.moowork.node' version '1.2.0' } node { version = '10.16.0' npmVersion = '6.4.1' download = true } jar.dependsOn 'npm_run_build' sourceCompatibility = '1.8' jar { from 'dist/ui' into 'static' }We have to include the
uiproject in thesettings.gradle.include 'ui'Our Spring Boot project already has a
build.gradlefile generated. We just have to add our dependencies to include theuimodule.dependencies { ... implementation(project(':ui')) }
EXERCISE
- Push your changes to Heroku and test the application.